
How to Master the 3-Point Turn for the New York Driving Test
Passing your New York driving test is a major achievement, but many aspiring drivers find the 3-point turn (also known as a K-turn) one of the most challenging parts of the road test. Don’t fret! This manoeuvre may seem tricky at first, but with some practice and understanding of the correct technique, you’ll be executing it with ease in no time.
In this guide, we’ll take you through every step needed to master the 3-point turn. We’ll explain what the examiner is looking for, give you tips to avoid common mistakes, and share some best practices that will help you shine during your road test. Whether you’re preparing for your first test or refining your skills, this article is here to help.
What is a 3-Point Turn?

A 3-point turn is a driving manoeuvre used to turn your vehicle around when there isn’t enough space to make a U-turn. It is an essential skill, particularly for narrow streets or situations where the road is blocked. The name “3-point turn” comes from the fact that the turn is completed in three distinct movements:
- Move forward and turn the steering wheel fully to the left (towards the opposite curb).
- Shift into reverse, steering fully to the right.
- Move forward again, straightening the wheel to complete the turn.
This type of turn is necessary when you need to change direction but don’t have enough space to do so in a single motion. The 3-point turn is part of the driving test in New York, and mastering it is key to passing your road test with confidence.
What Does the Examiner Look For?
The examiner will be assessing the following during your 3-point turn:
- Control: How well you handle your vehicle, including steering and braking.
- Safety: Ensuring that you check for pedestrians, cyclists, and other vehicles before executing the turn.
- Smoothness: Your ability to perform the manoeuvre without jerking the vehicle or oversteering.
- Accuracy: Completing the turn in exactly three movements, no more, no less.
Step-by-Step Guide to Performing the 3-Point Turn
The key to successfully completing the 3-point turn is practice and precision. Below is a step-by-step breakdown of the process that will guide you through each phase.
1. Position Your Car Correctly
- Find a Safe Spot: Choose a quiet street or parking lot with little to no traffic. Ideally, find a location where you can practice without distractions, such as a wide residential road.
- Pull Over to the Right: Once you’ve identified a suitable location, pull over to the right side of the road. This will ensure that you’re in a safe position to start the turn.
- Check for Traffic: Before you begin the manoeuvre, make sure the road is clear of oncoming traffic, pedestrians, or cyclists. You’ll need to be sure that no vehicles or pedestrians are obstructing the space you intend to use.
- Signal: Always activate your right turn signal. This will indicate to other drivers that you intend to stop and perform the 3-point turn.
2. Move Forward and Turn Left
- Signal Left: Now, signal left to indicate you are about to move forward.
- Turn the Steering Wheel to the Left: As you move forward, turn the steering wheel sharply to the left. The aim is to angle your vehicle towards the opposite curb or parking space. At this point, the front of your car should be near the curb, but you should avoid mounting it.
- Stop Before Hitting the Curb: You should stop the car just before the front wheels hit the curb. This will give you enough room to reverse safely and complete the turn in the next step.
3. Shift into Reverse and Turn Right
- Shift to Reverse: After positioning your car, shift into reverse.
- Signal Right: Activate your right signal to show that you intend to reverse.
- Turn the Steering Wheel to the Right: While reversing, steer the wheel sharply to the right. This will angle the back of your vehicle towards the opposite side of the road.
- Move Slowly: As you reverse, keep a careful eye on your surroundings. Go slow and steady, using your mirrors to guide you. Your goal is to back up far enough so that you can straighten the car without hitting the curb or any other obstacles.
- Stop When the Vehicle is Straight: Once your car is straightened out in the middle of the road or parking space, stop and prepare for the final movement.
4. Move Forward Again
- Shift to Drive: Put the car in drive and signal left again to show your intention to move forward.
- Turn Left and Move Forward: As you move forward, steer the wheel left and drive straight. This will complete the turn, and you’ll be facing the opposite direction.
- Check Your Alignment: Once you’ve finished the turn, make sure your vehicle is positioned properly within the lane and is not too close to the curb or other vehicles.
Common Mistakes to Avoid During the 3-Point Turn
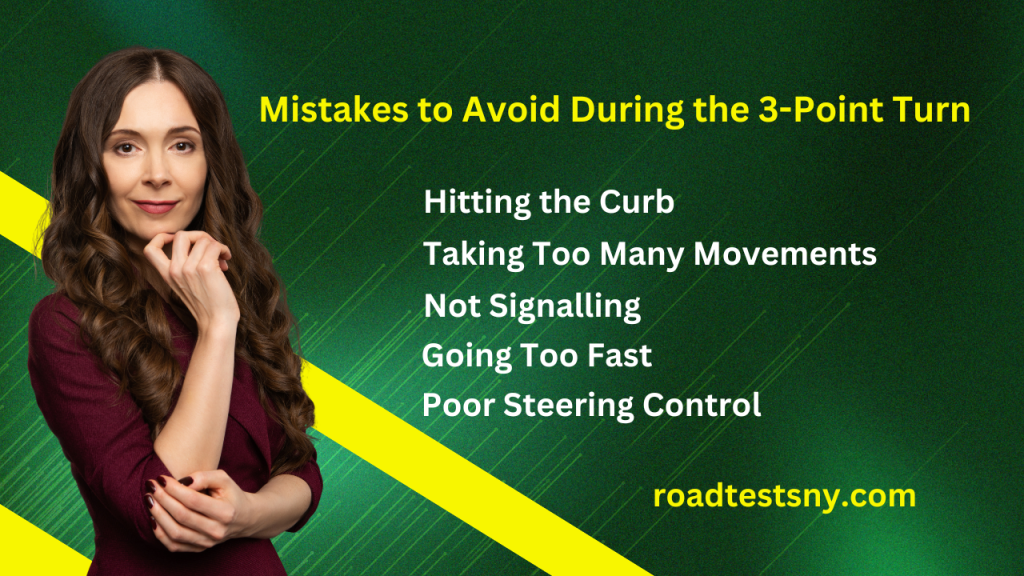
The 3-point turn may sound straightforward, but many drivers make simple mistakes that could result in a failed test. Below are some common pitfalls to avoid:
- Hitting the Curb: One of the most common mistakes is hitting the curb, which can lead to an automatic failure. To avoid this, make sure to steer away from the curb and always use your mirrors to judge your distance.
- Taking Too Many Movements: The 3-point turn should be completed in exactly three movements. Taking extra steps or going back and forth more than necessary could result in points being deducted.
- Not Signalling: Failing to signal properly can result in an automatic failure. Always use your turn signals to indicate when you’re about to start and when you’re changing direction.
- Going Too Fast: Speeding through the manoeuvre can indicate a lack of control. Always go slow and ensure you are in control of your vehicle at all times.
- Poor Steering Control: Jerking the steering wheel or overcorrecting can lead to a messy turn. Smooth and consistent steering is crucial for the 3-point turn.
Top Tips for Perfecting Your 3-Point Turn
To give yourself the best chance of success, here are some tips to help you perfect your 3-point turn:
- Practice, Practice, Practice: Find a quiet area or empty parking lot where you can practice. Repetition is key to building muscle memory and improving your comfort with the manoeuvre.
- Use Markers: Set up cones or other markers in an open area to simulate curbs and obstacles. This will help you gauge your distance and accuracy during the turn.
- Practice Steering: Pay attention to how much you turn the wheel during each step. Practice making small adjustments to avoid oversteering or understeering.
- Always Check Your Surroundings: Every time you make a move, check your mirrors and blind spots to ensure the road is clear of obstacles, pedestrians, and other cars.
Additional Resources and Practice Tips
- Review the New York DMV Guide: The official New York State Driver’s Manual has detailed instructions for the 3-point turn and other skills you’ll need to demonstrate during your road test.
- Use Online Practice Tools: Many apps and websites offer driving test simulations and practice quizzes that can help you prepare for the test.
- Take a Driving Lesson: If you’re unsure about any part of the 3-point turn or other driving skills, consider booking a lesson with a professional driving instructor.
FAQ About the 3-Point Turn on the Driving Test
How many movements are allowed for the 3-point turn?
The 3-point turn must be completed in exactly three movements—no more, no less. If you go back and forth more than three times, it can result in a failed test.
Can I fail the test if I hit the curb?
Yes, hitting the curb during your 3-point turn can result in an automatic failure. Make sure to steer away from the curb during each phase of the manoeuvre.
Do I need to signal during the 3-point turn?
Yes, you must signal at least twice: once before moving forward (left signal) and once before reversing (right signal). This shows your intent to other road users.
What happens if I don’t complete the turn in the three moves?
If you make more than three moves, the examiner will likely mark this as an error. You’ll need to practice and aim for a precise three-move completion.
Final Thoughts
Mastering the 3-point turn is a crucial skill for passing your New York driving test. It requires attention to detail, smooth vehicle control, and an awareness of your surroundings. With practice, patience, and the tips provided in this guide, you’ll be prepared to handle the manoeuvre confidently.
Remember, don’t rush, stay calm, and make sure you’re always prioritising safety. Good luck with your test, and drive safely!